3rd Party/DEP/SRC/BIN Tab
Upload the analysis report or load a confirmed Project or 3rd Party.
Process
- Upload the result of FOSSLight Scanner analysis
- Check Warning message
Fill in OSS List in the browser
Click the + button at the top-left of the OSS Table to fill OSS information.
Upload Analysis Report
- Click the + button in the upload area. (First time: go to step 2.)

- Select ‘Upload Analysis Result', then click the Upload button to upload the FOSSLight Report file.
Reports in Excel, SPDX, and CycloneDX formats can be uploaded.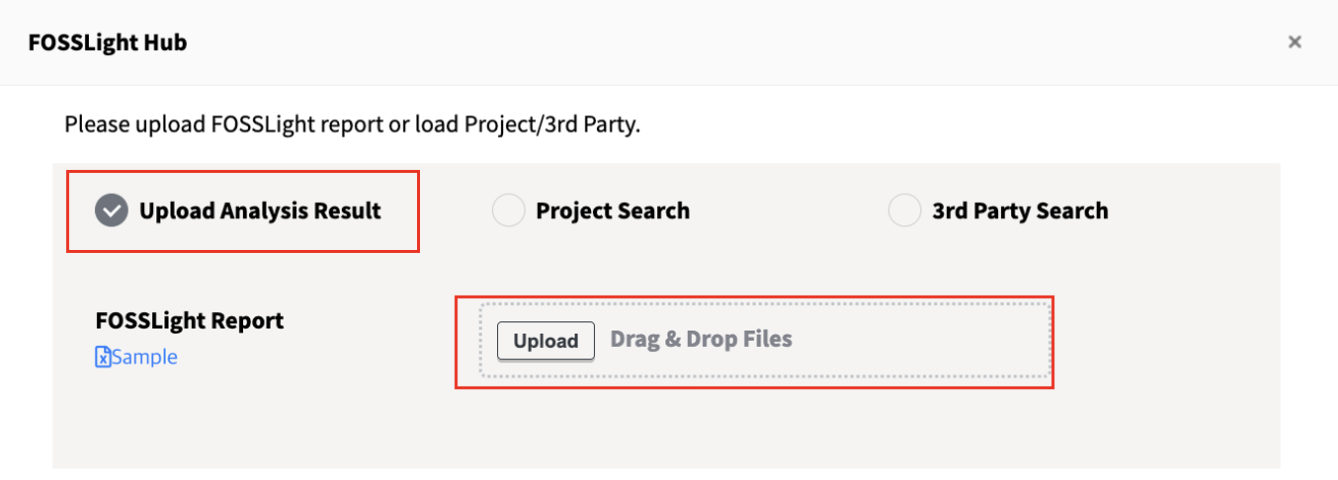
- Left: sheet list. Right: select the tab to upload to.
One sheet per tab; sheets starting with the tab name are selected by default. Uncheck sheets you don't want to load.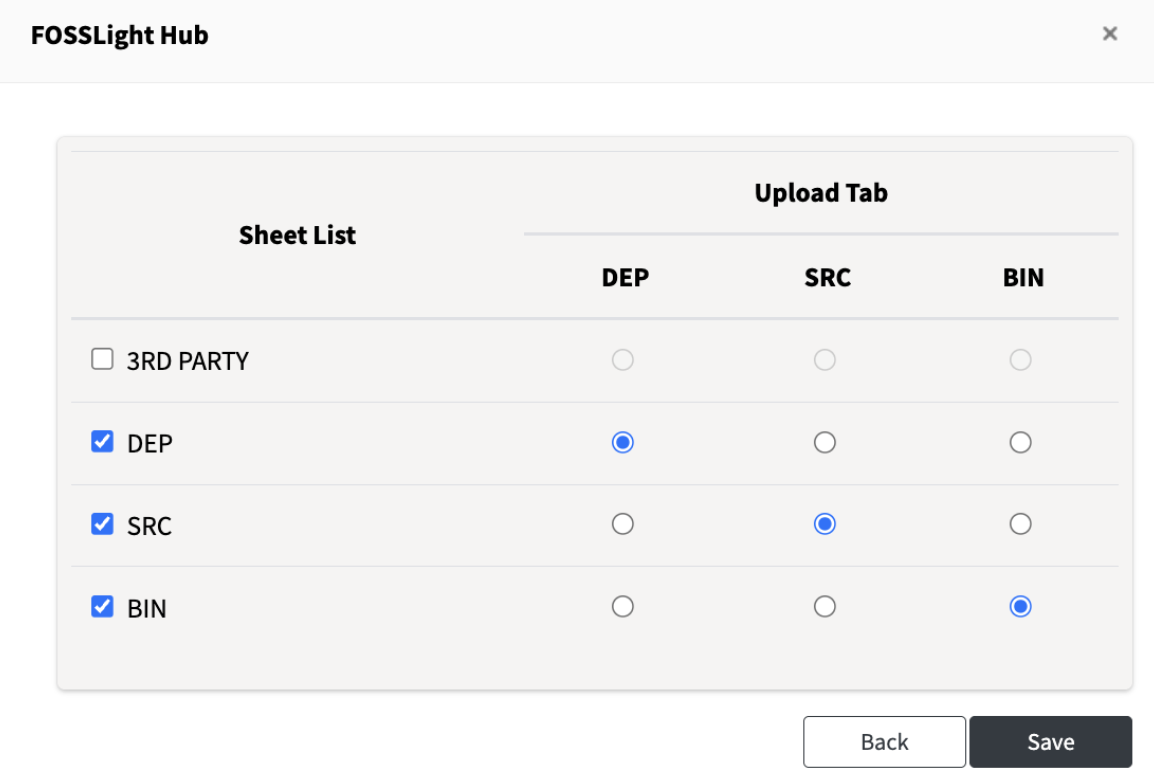
- When you click Save, the data from the uploaded report file is loaded into the OSS Table below and saved.
Project/3rd Party Search
Load a confirmed Project or 3rd Party.
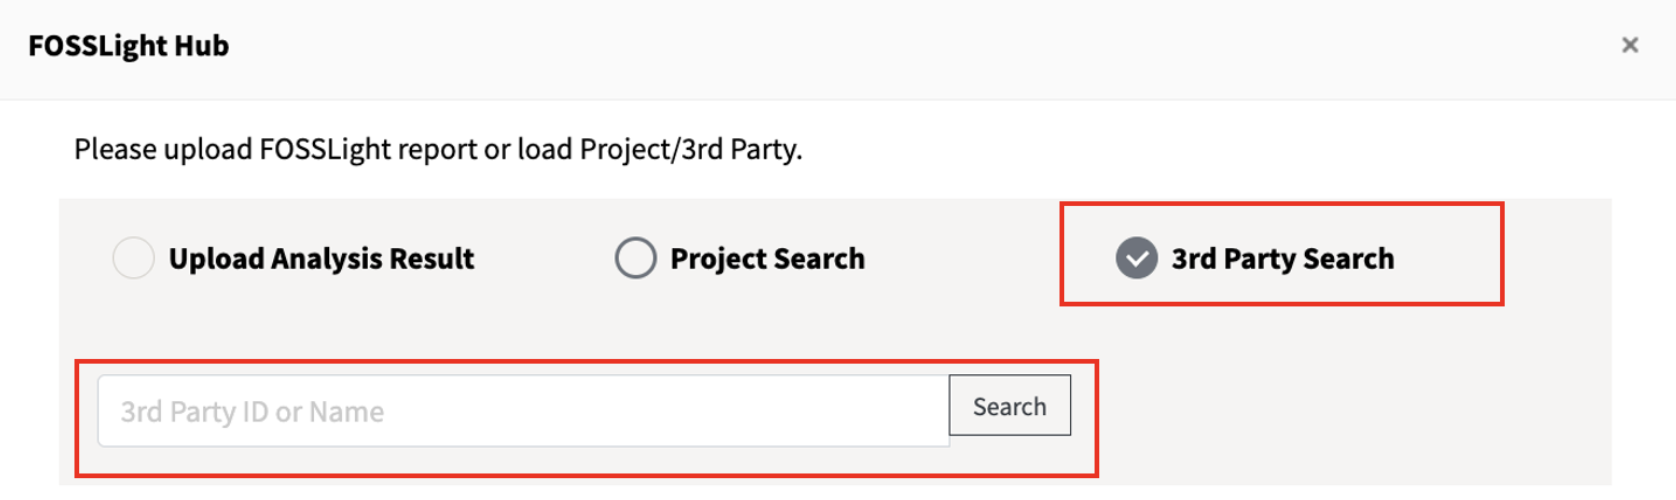
- Click the + button in the upload area. (First time: go to step 2.)
- Select Project Search or 3rd Party Search. Search for the Project or 3rd Party to load by Project/3rd party Name or ID.

- Select the tab to load. Data loads only into the tab with the same name (e.g., SRC → SRC tab).
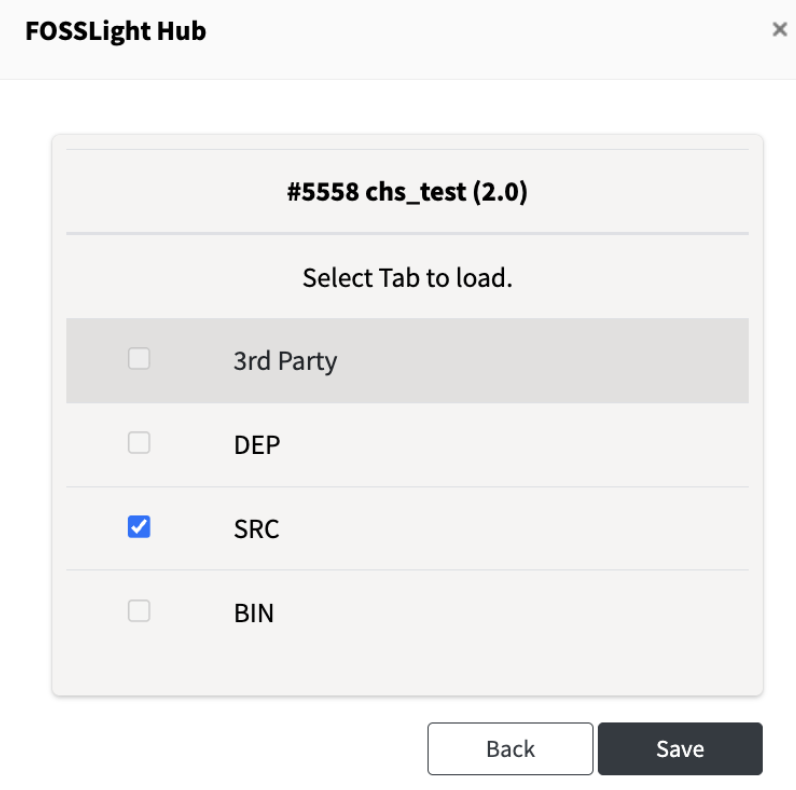
- When you click Save, the data of the selected project/3rd party is loaded into the OSS Table below and saved.
Display of Uploaded / Loaded Data
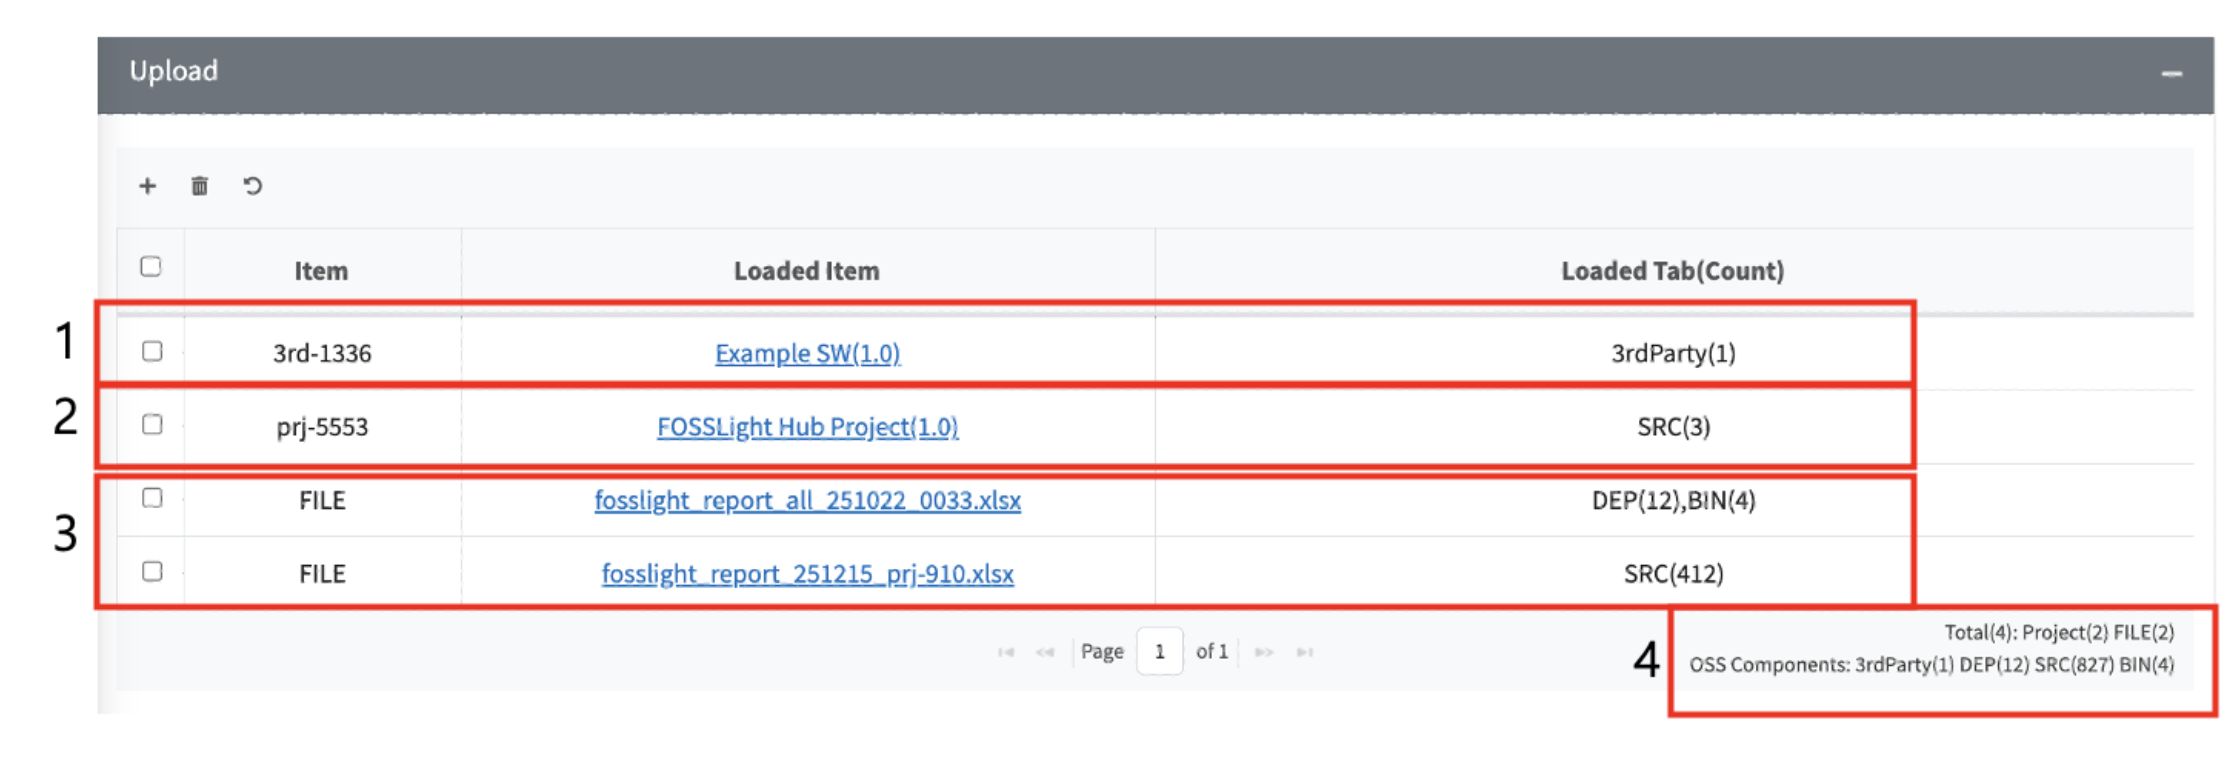
- Loaded 3rd party
- Loaded project
- Uploaded report file
- Total : Number of uploaded report files and loaded projects and 3rd parties OSS Components : Number of OSS components loaded in each tab
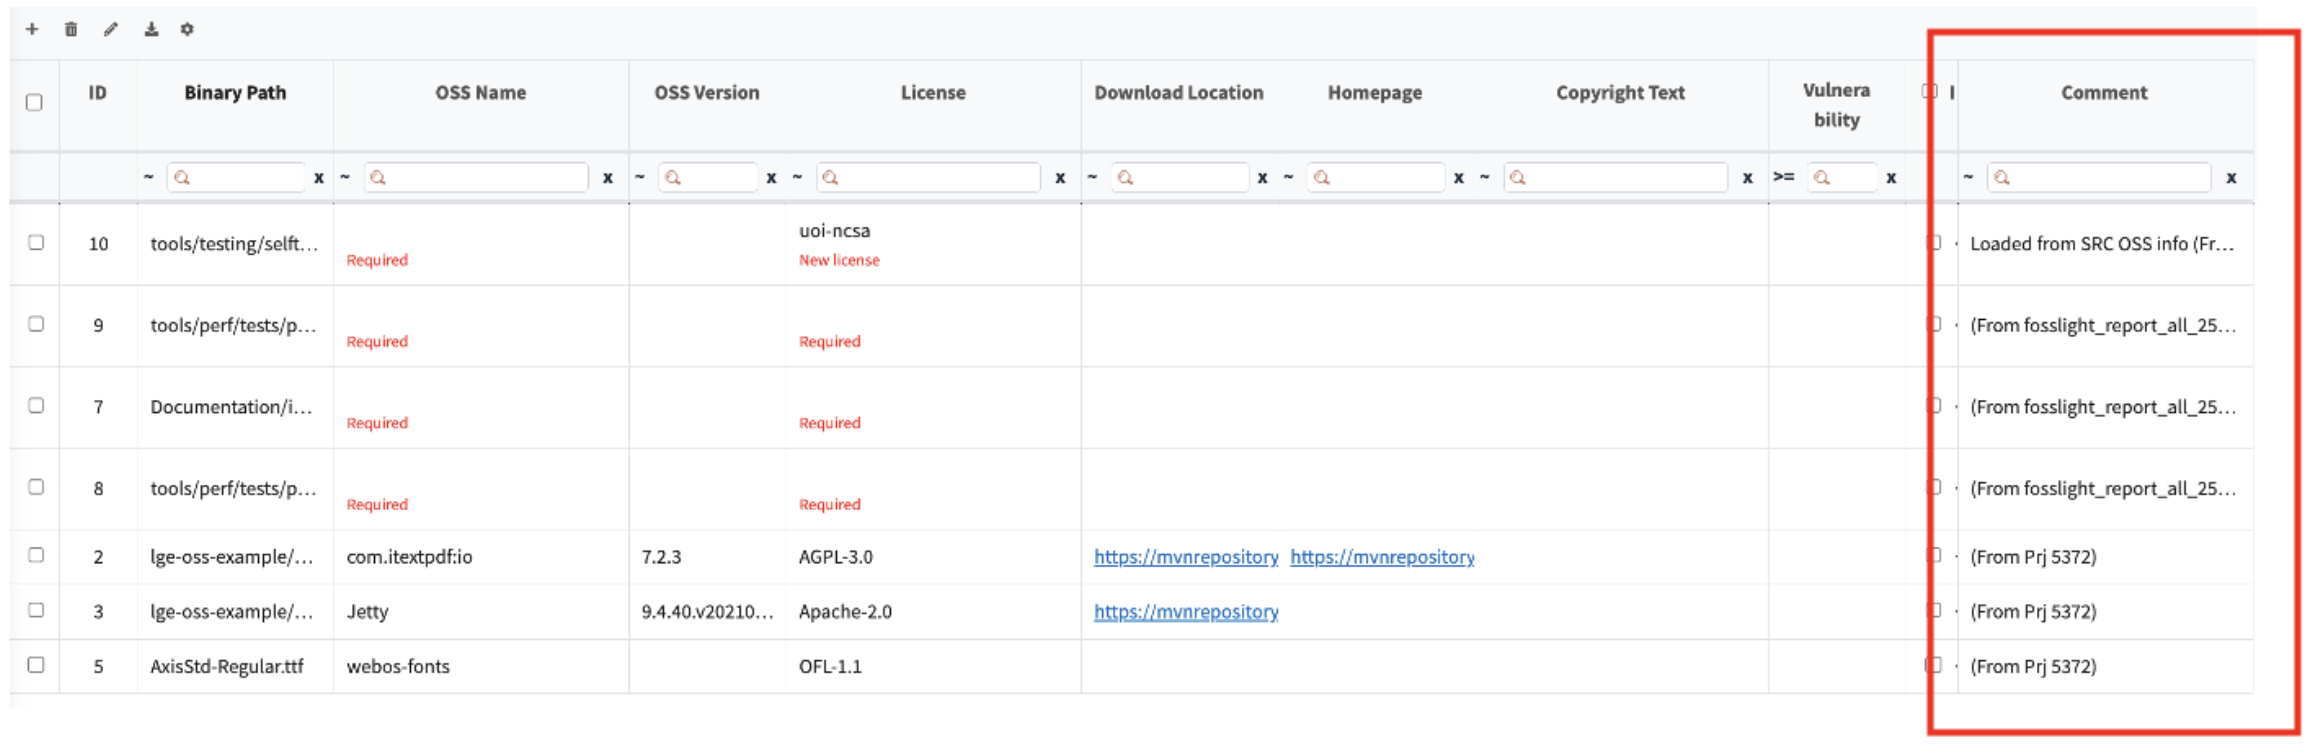
- The origin is displayed in the Comment column of the OSS Table.
Delete
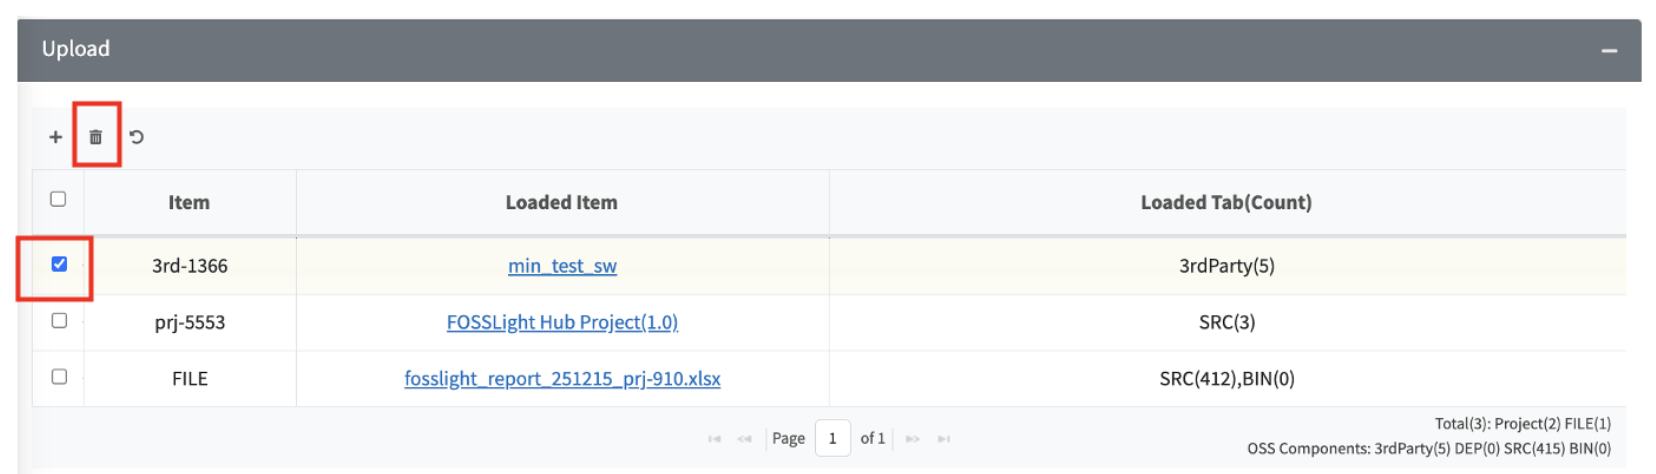
- Select a single row you want to delete and click the trash can icon. The following pop-up will appear.
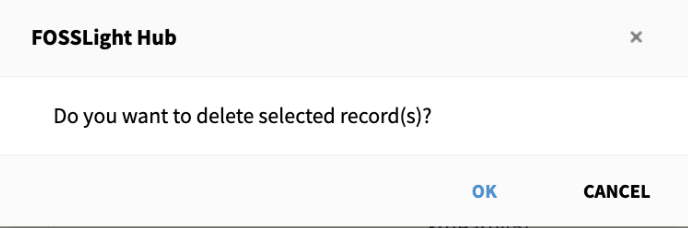
- When you click OK, the selected row is deleted and all OSS Table data loaded from that row is deleted and saved.
- If nothing is selected or more than one row is selected, the following pop-up will appear.
Reset

- Click the Reset button.
- A pop-up will appear indicating that all uploaded and loaded rows will be selected and all data will be deleted.

- When you click OK, all selected rows are deleted, all data in the OSS Table is deleted, and the changes are saved.
- To reset each tab individually, click the reset button located within the corresponding tab.