Create Self-Check Project
You can create a Self-Check project and add OSS list you wish to check one by one using the UI or at once using OSS report.
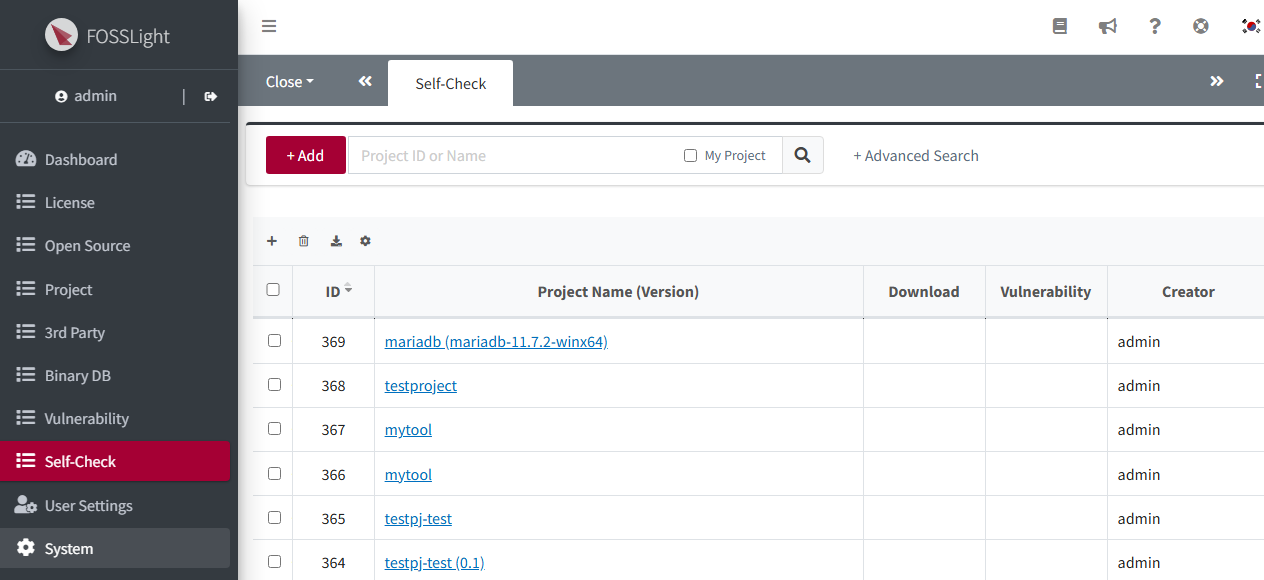
Self-Check Project creation
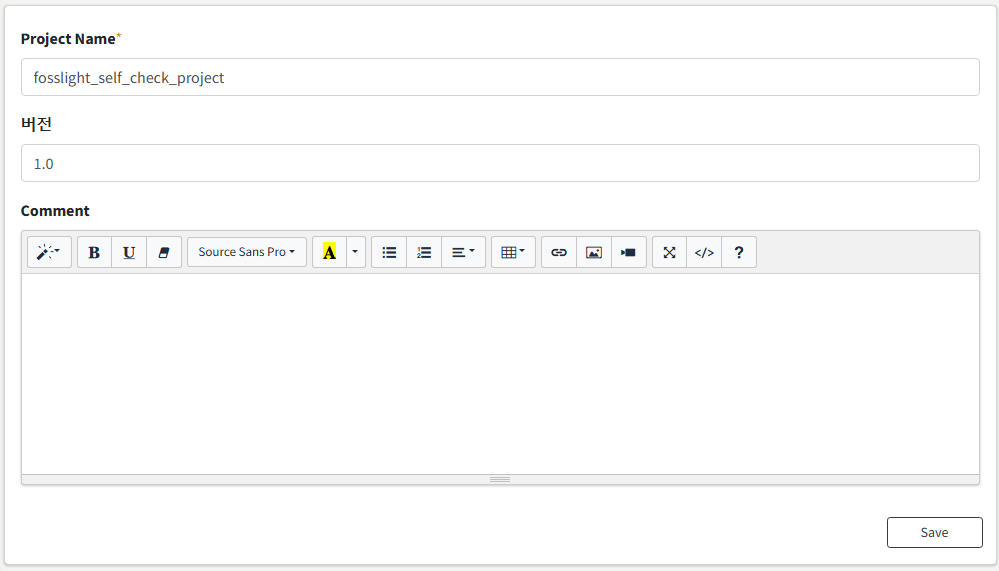
- Click the Add button at the top right of the Self-Check List.
- Enter the relevant information and click Save.
- You can view the newly created Self-Check Project in the Self-Check List, and double-click the list to check the details.
OSS information input
Fill in OSS List in the browser
- Click the + button to add a row, fill in the OSS you want to check, and save.
- Fill in the information (OSS Name, OSS Version, License) in the added row.
- When you enter the OSS Name and OSS Version, the information will be retrieved through OSS Information Auto-Fill if it is stored in the FOSSLight Hub.
Upload Analysis Result
- Upload the FOSSLight Report containing the OSS list in the Upload Analysis Result column.
Uploadable FOSSLight Report form can be downloaded by clicking the Export button.
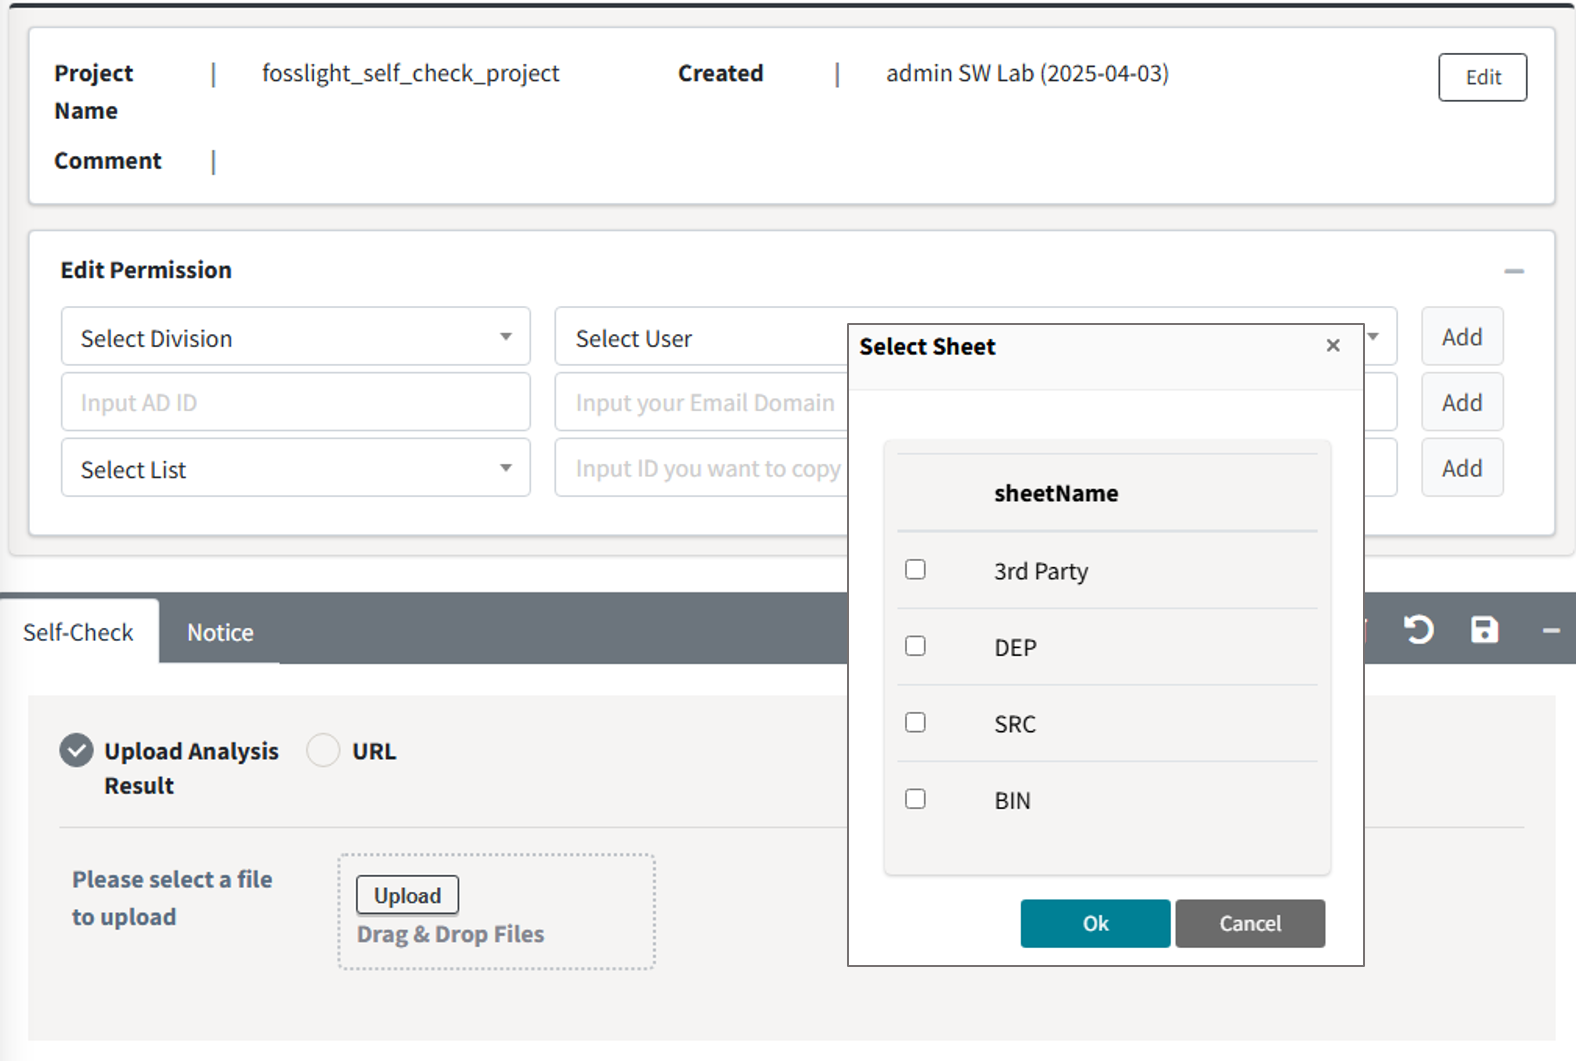
- Select the sheet to be loaded and click OK.
- Click the Save button(
 ).
).
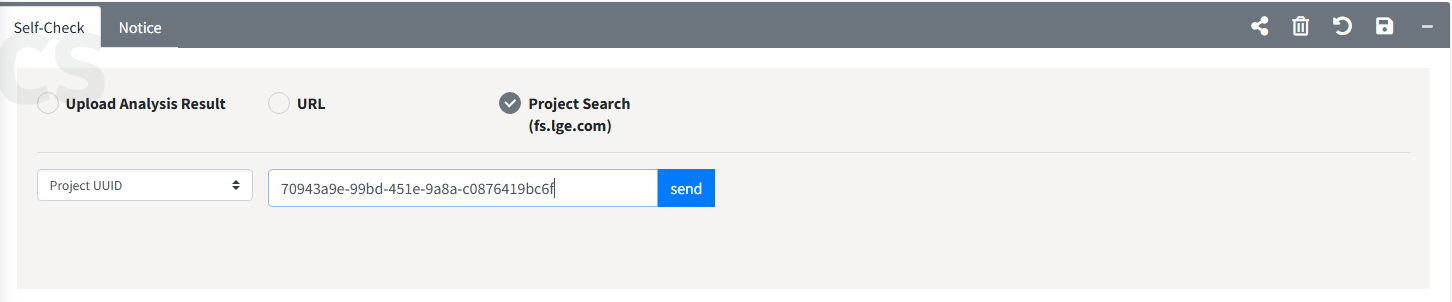
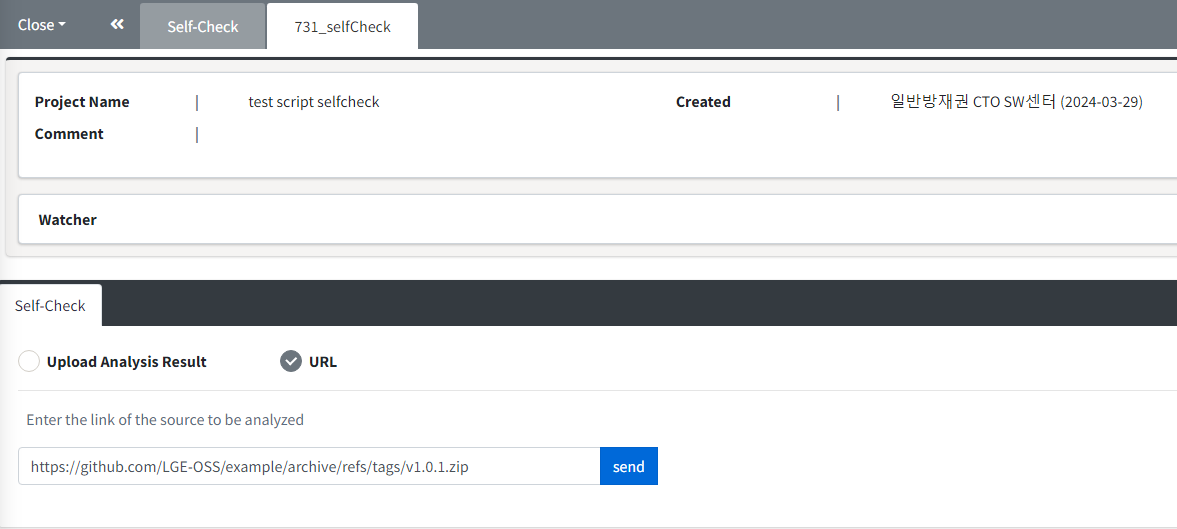
(LGE Only) Loading the FOSSLight Scanner Service analysis results.
FOSSLight Hub's Self-check is integrated with FOSSLight Scanner Service.
Option 1. Select URL and enter the source link to be analyzed (a link that can be downloaded using wget or git clone) and click Send button.
 Option 2. Load the analysis result Report of the completed Project from FOSSLight Scanner Service.